
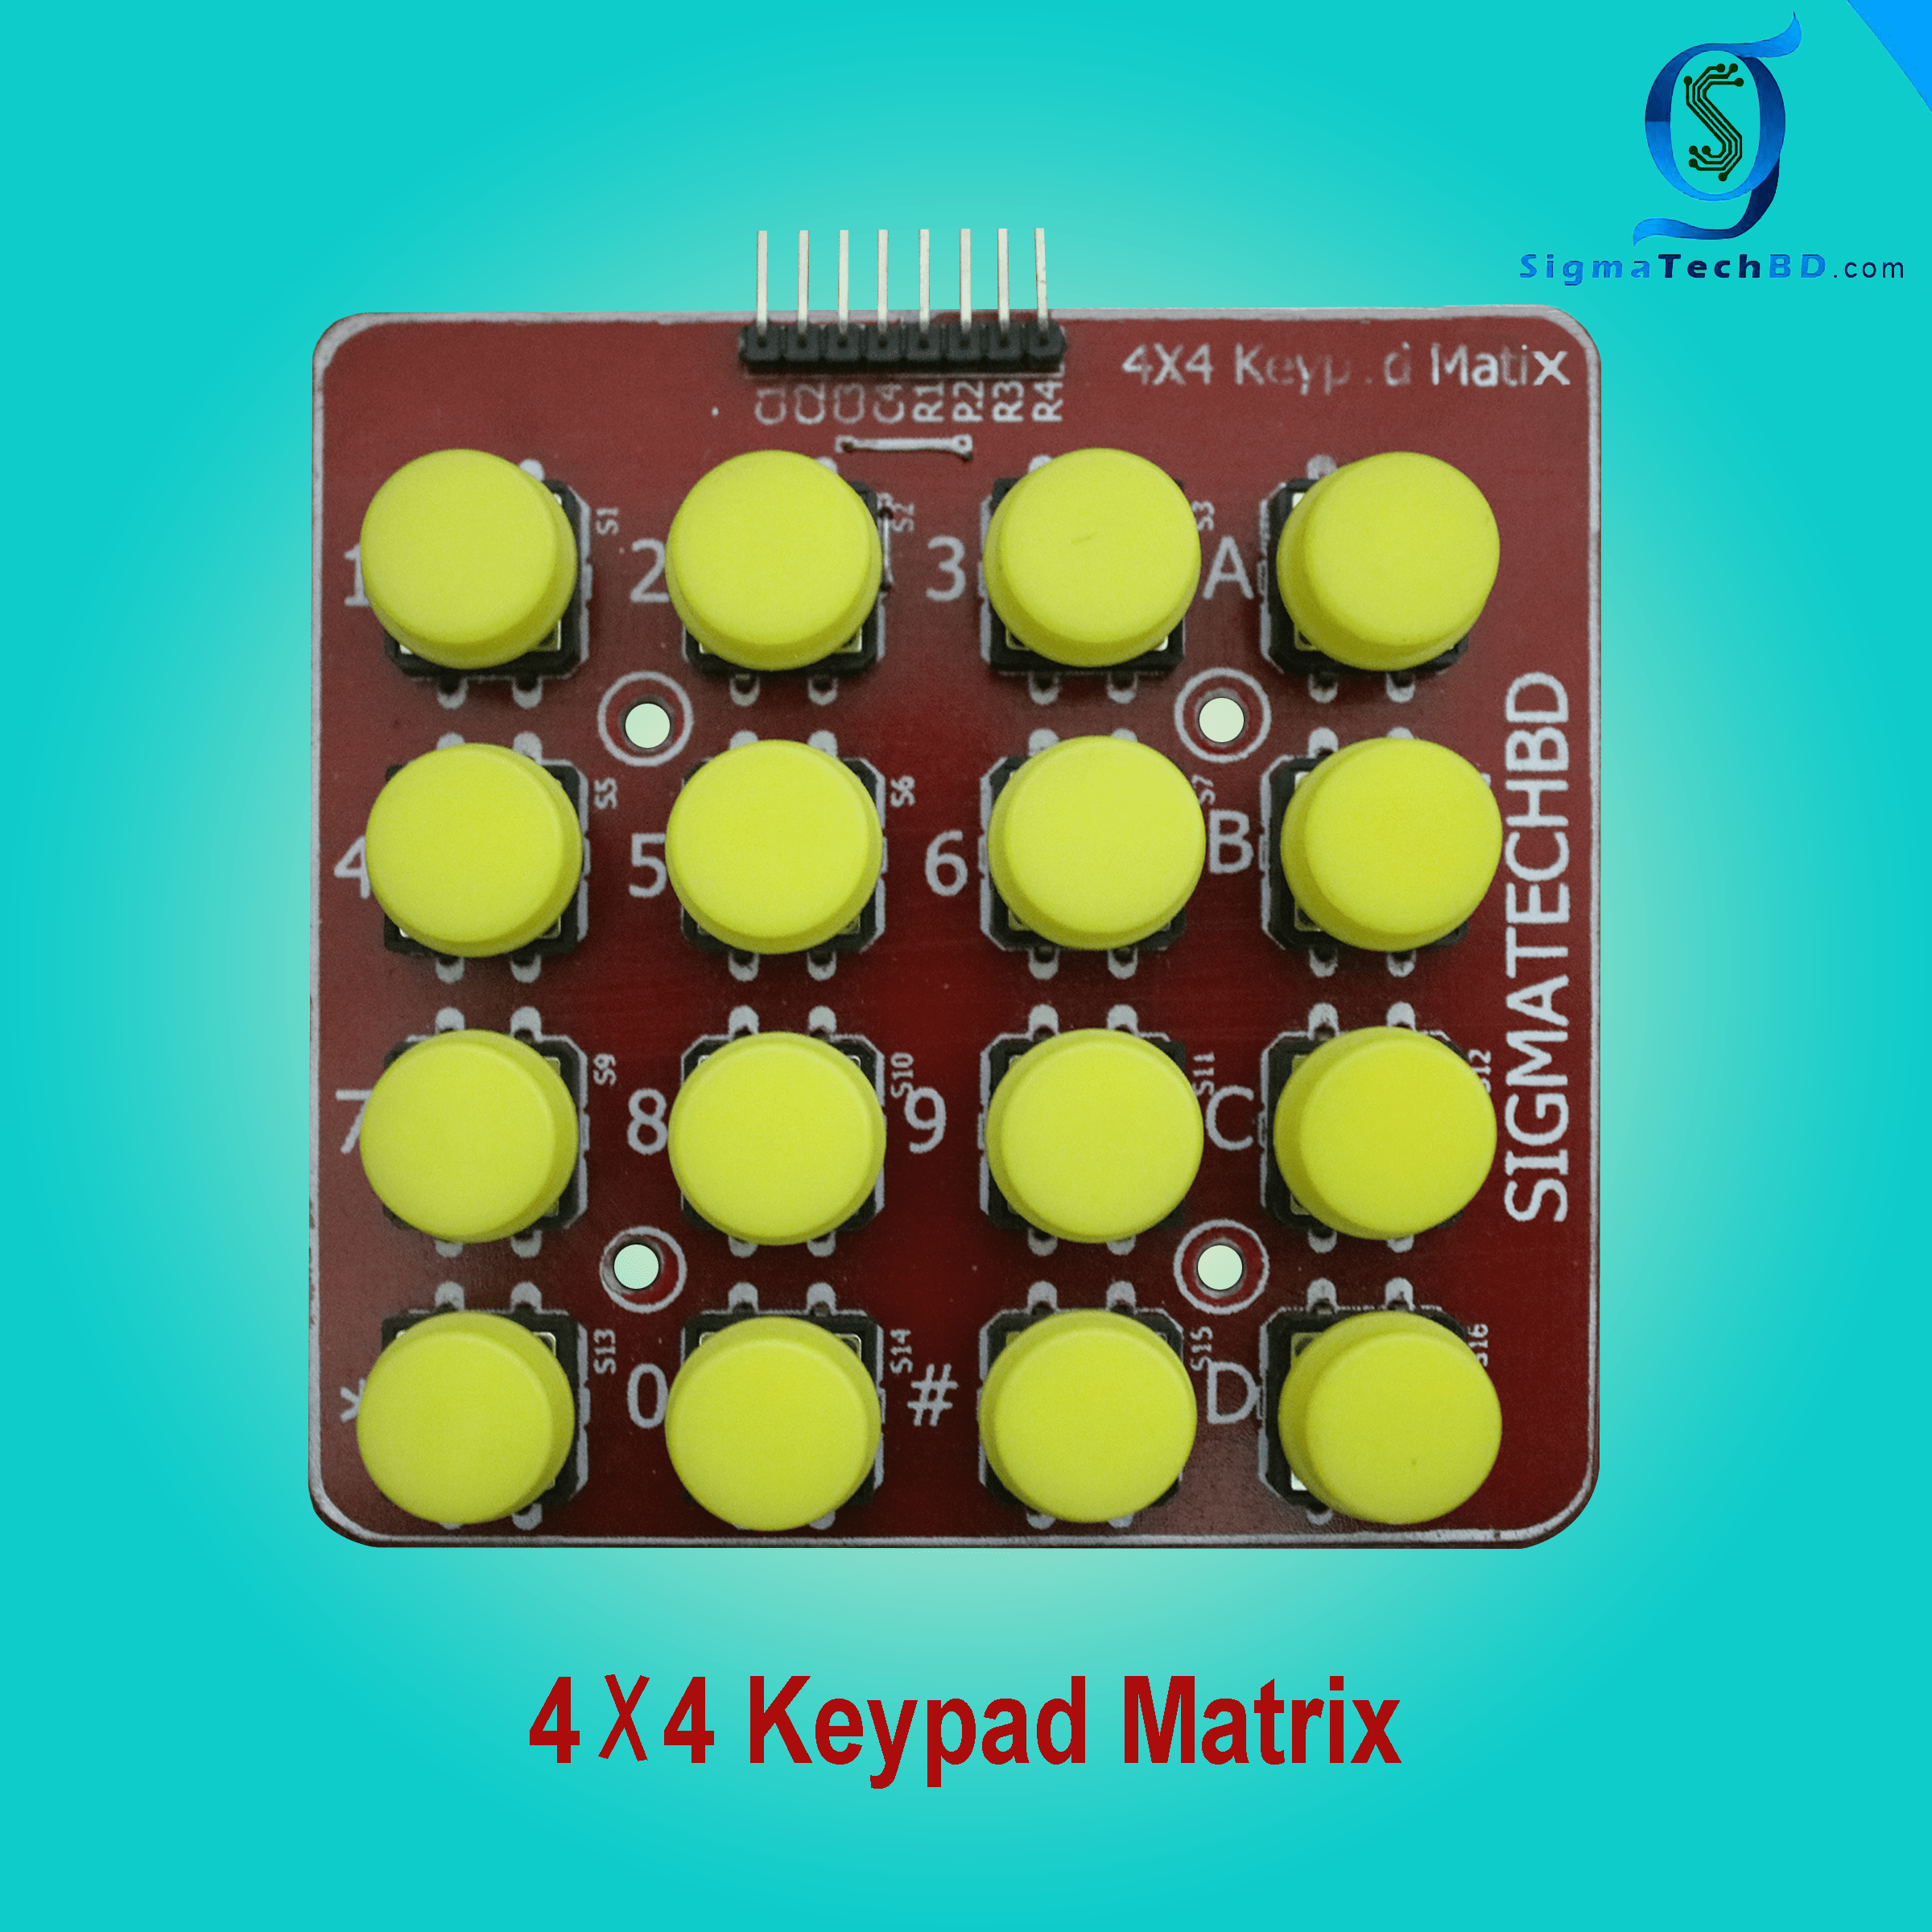
4×4 Keypad Matrix When using Matrix keypads people often face difficulty in finding rows and coulums. To get you rid of this hassle we have launched 4×4 keypad matrix with all the numbers, rows and coulums marked clearly. This one features yellow buttons. Also available in Red, White and Green.

The buttons on a keypad are arranged in rows and columns. A 3X4 keypad has 4 rows and 3 columns, and a 4X4 keypad has 4 rows and 4 columns: Beneath each key is a membrane switch. Each switch in a row is connected to the other switches in the row by a conductive trace underneath the pad.

How it Works
This 4×4 matrix keypad has 16 built-in pushbutton contacts connected to row and column lines. A microcontroller can scan these lines for a button-pressed state. In the keypad library, the Propeller sets all the column lines to input, and all the row lines to input. Then, it picks a row and sets it high. After that, it checks the column lines one at a time. If the column connection stays low, the button on the row has not been pressed. If it goes high, the microcontroller knows which row (the one it set high), and which column, (the one that was detected high when checked). See the schematic in the “Circuit” section, above, for a visual reference of the keypad layout.
The keypad library supports pretty much any number of rows and columns. So, the program has to tell it our keypad is has 4 rows and 4 columns, which I/O pins the lines are connected to, and what value each button represents. The rows, cols, and values arrays store that information. The rows array will be used to tell the keypad library that the top row is connected to P7, the second row to P6 and so on. Likewise, the cols array lists the leftmost column as connected to P3, the next over connected to P2 and so on. The values array stores the value we want the program to give us for each button press. For example, if the top-left button is pressed, we want the number 1, and if the next one over is pressed, we want the number two. If the top right button is pressed, we want the ASCII code for the ‘A’ character, which is 65.
Inside the main function, keypad_setup gets the number of rows (4), the number of columns (also 4), the rows array, the cols array, and the values array. After that, key = keypad_read() will return -1 if no buttons are pressed. If a button is pressed, it will return the value from the array that corresponds to that button. For example, if you press a button on the 3rd row, second column, the keypad_read function will return the number 8, which will get stored in the keyvariable. To display it correctly, an if statement checks for values less than or equal to 9, and displays them with %d, decimal-integer formatting flag . The ASCII codes for ‘*’, ‘#’, ‘A’, ‘B’, ‘C’, and ‘D’ are 35, 42, 65, 66, 67, and 68, all of which are above 9, and get displayed with the print statement that uses the %c character formatting fla